[2013-08-06 업데이트]
그누보드같은 설치형 게시판 설치가 안되던 문제가 있었습니다.
mysqli_ 로 시작하는 문법은 적용이 되는데 구 문법인 mysql_ 로 시작하는 문법이 먹히질 않아 초기 설정 부분부터 다시 봤는데, 역시나 빼먹은게 있었네요.
본문에 추가설정 사항으로 추가해 두었습니다.
[2013-08-04 업데이트]
확실히 DB가 메모리를 많이 점유하는 것 같네요.
굳이 PHP와 DB가 필요없으신 분들은 건너 뛰시고, 아파치만 설치하셔도 될 듯...뒤이은 WebDAV 설정하기에서도 아파치 서버만 필요한 관계로.
--------------------
LAMP는 Linux+Apache+MariaDB(또는 MySQL)+PHP을 이야기한다.
무엇보다 WebDAV를 사용해 보고 싶어 궁극적으로 웹서버를 설치하게 되었다.
요즘 인기급상승 중이라는 NginX를 설치해보고 싶었으나, 뭐 거의 혼자 테스트용으로 사용할 것이고 동시접속자도 거의 없는 관계로 아치리눅스에 AMP를 설치한다.
그리고 끝으로 DB 관리툴인 phpMyAdmin도 설치해 본다.
※ 참고 : https://wiki.archlinux.org/index.php/LAMP
https://wiki.archlinux.org/index.php/PhpMyAdmin
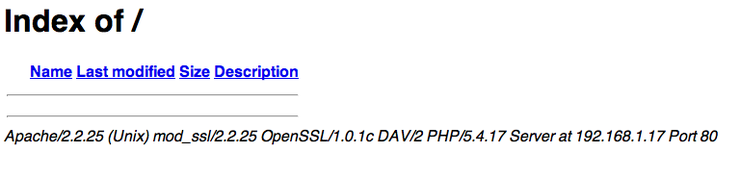
현재 아파치 서버의 버전은 2.4 버전까지 나와 있지만 설치가능한 것은 2.2.25-1이다.
1. 아파치, PHP, maria DB 설치하기
pacman -S apache
pacman -S php php-apache
2013년 3월 이후 아치리눅스에서 mySQL이 mariaDB 로 대체되었다.
따라서, mysql을 설치하려고 해도 mariaDB로 변경되어 설치된다.
https://www.archlinux.org/news/mariadb-replaces-mysql-in-repositories/
pacman -S mariadb
2. 아파치 웹서버 설정하기
설치가 끝나면 httpd.conf 파일을 수정한다.
(앞서 DDNS를 설정하고 내 도메인을 가지고 있다는 가정 하에 수행)
nano /etc/httpd/conf/httpd.conf
--------
ServerAdmin nekojp@naver.com (필요하면 관리자 이메일주소 수정)
ServerName www.mydomain.com (#을 제거하고 내 도메인을 넣어준다.)#LoadModule unique_id_module modules/mod_unique_id.so 을 찾아 # 주석처리한다.DirectoryIndex index.html index.php (index.php 파일이 추가되어있는지 확인한다.)
nano /etc/hosts------#<ip-address> <hostname.domain.org> <hostname>포고플러그 내부 ip 내 도메인(DDNS) 도메인의 호스트명ex) 192.168.1.17 nekojp.test.com nekojp
systemctl start httpd
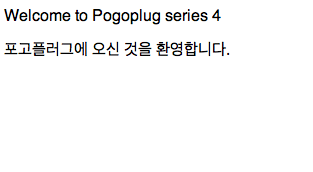
nano /srv/http/index.html<html><head><title>Welcome</title></head><body><p>Welcome to Pogoplug series 4</p><p>포고플러그에 오신 것을 환영합니다.</p></body></html>
systemctl stop httpdnano /etc/httpd/conf/httpd.conf------맨 밑에 다음 라인을 추가한다.# Use for PHP 5.x:LoadModule php5_module modules/libphp5.soAddHandler php5-script phpInclude conf/extra/php5_module.conf
nano /etc/httpd/conf/mime.types-------적당한 위치에 아래 항목을 추가해 준다.application/x-httpd-php php php5
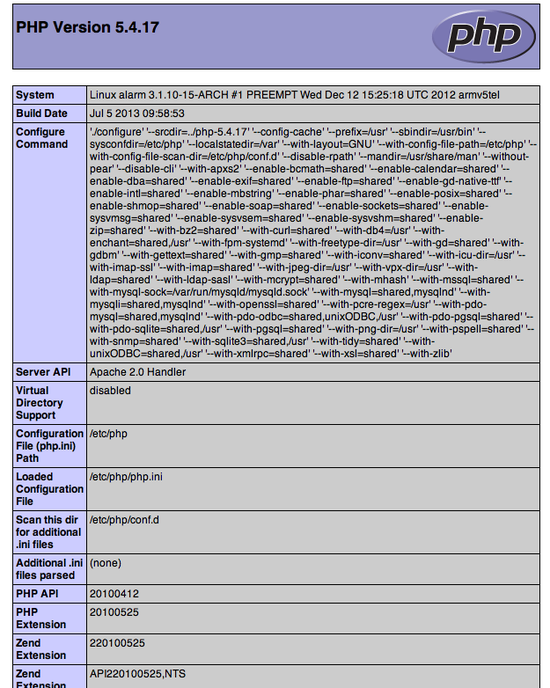
cd /srv/httpnano info.php------<?php phpinfo() ?>
systemctl restart httpd
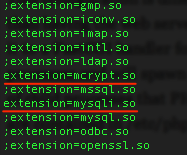
nano /etc/php/php.ini-----------date.timezone = Asia/Seoul (; 주석처리를 지우고 시간대를 맞춘다.)extension=mysql.so (;주석 제거)-----------systemctl restart httpd
systemctl start mysqldmysql_secure_installation
[root@alarm ~]# mysql_secure_installation/usr/bin/mysql_secure_installation: line 379: find_mysql_client: command not foundNOTE: RUNNING ALL PARTS OF THIS SCRIPT IS RECOMMENDED FOR ALL MariaDBSERVERS IN PRODUCTION USE! PLEASE READ EACH STEP CAREFULLY!In order to log into MariaDB to secure it, we'll need the currentpassword for the root user. If you've just installed MariaDB, andyou haven't set the root password yet, the password will be blank,so you should just press enter here.Enter current password for root (enter for none):OK, successfully used password, moving on...Setting the root password ensures that nobody can log into the MariaDBroot user without the proper authorisation.Set root password? [Y/n] yNew password:Re-enter new password:Password updated successfully!Reloading privilege tables..... Success!By default, a MariaDB installation has an anonymous user, allowing anyoneto log into MariaDB without having to have a user account created forthem. This is intended only for testing, and to make the installationgo a bit smoother. You should remove them before moving into aproduction environment.Remove anonymous users? [Y/n] y... Success!Normally, root should only be allowed to connect from 'localhost'. Thisensures that someone cannot guess at the root password from the network.Disallow root login remotely? [Y/n] y... Success!By default, MariaDB comes with a database named 'test' that anyone canaccess. This is also intended only for testing, and should be removedbefore moving into a production environment.Remove test database and access to it? [Y/n] y- Dropping test database...... Success!- Removing privileges on test database...... Success!Reloading the privilege tables will ensure that all changes made so farwill take effect immediately.Reload privilege tables now? [Y/n] y... Success!Cleaning up...All done! If you've completed all of the above steps, your MariaDBinstallation should now be secure.Thanks for using MariaDB!
mysql -u root -p
mysql -u root -pEnter password:Welcome to the MariaDB monitor. Commands end with ; or \g.Your MariaDB connection id is 10Server version: 5.5.32-MariaDB-log Source distributionCopyright (c) 2000, 2013, Oracle, Monty Program Ab and others.Type 'help;' or '\h' for help. Type '\c' to clear the current input statement.MariaDB [(none)]> exit;Bye
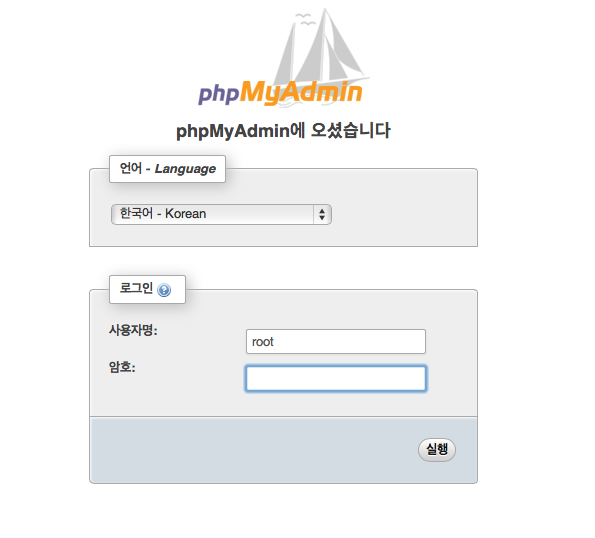
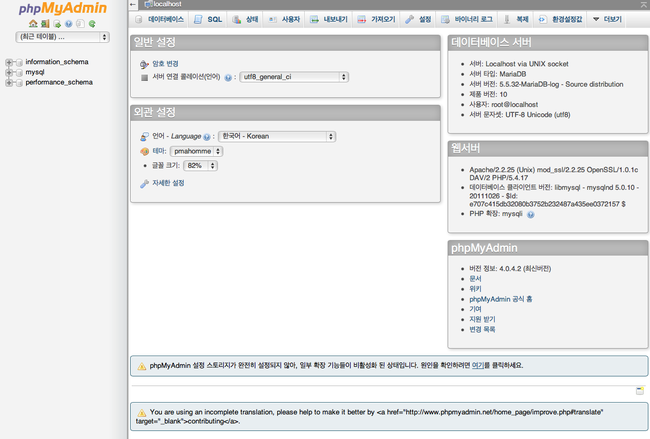
pacman -S phpmyadmin php-mcrypt
cp /etc/webapps/phpmyadmin/apache.example.conf /etc/httpd/conf/extra/httpd-phpmyadmin.conf
nano /etc/httpd/conf/httpd.conf--------# phpMyAdmin configurationInclude conf/extra/httpd-phpmyadmin.conf
nano /etc/webapps/phpmyadmin/.htaccess--------#deny from allallow from all
nano /etc/php/php.ini---------extension=mcrypt.soextension=mysqli.so
systemctl restart httpd
systemctl enable httpdsystemctl enable mysqld
'리눅스 > 포고플러그' 카테고리의 다른 글
| 포고플러그 시리즈4에 아치리눅스 사용하기 (4-1) - transmission 감시폴더 및 외부 업로드방법 (0) | 2022.10.04 |
|---|---|
| 포고플러그 시리즈4에 아치리눅스 사용하기 (9) - 아파치 웹서버에 WebDAV 설정하기 (0) | 2022.10.04 |
| 포고플러그 시리즈4에 아치리눅스 사용하기 (7) - 부팅 USB 메모리 백업해두기 (0) | 2022.10.04 |
| 포고플러그 시리즈4에 아치리눅스 사용하기 (6) - htop 및 webmin 설치하기 (0) | 2022.10.04 |
| 포고플러그 시리즈4에 아치리눅스 사용하기 (5) -순정 포고플러그 서비스 복구하기 (1) | 2022.10.04 |


